Tilemap Creation for Autotiling in Aseprite 1.3
Since the Aseprite 1.3 beta was released today, I thought I’d mess around with the new tilemap feature. One awesome use case is creating a tilesheet for auto-tiling. In this post, I’ll demonstrate how you can set up an “auto-tileable” 8x8 pixel tilesheet that’s super easy to edit.
For a tilesheet to auto-tile, it needs the following tiles:
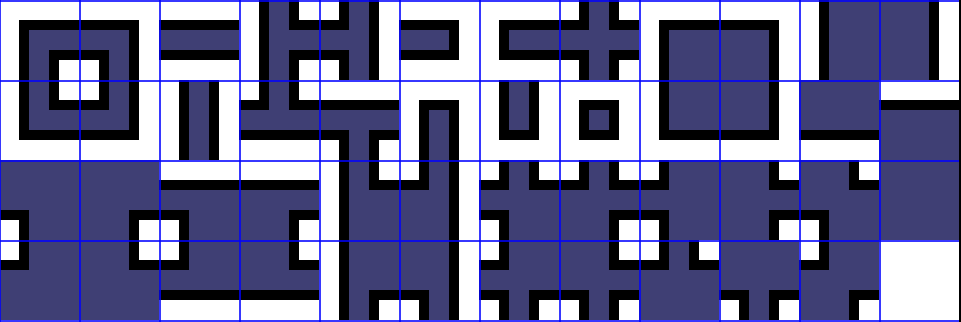
Looking carefully at these we can see that all these tiles can be split up and made out of a much smaller number of unique tiles. In our case the 8x8 tiles can be split up into four 4x4 tiles:

This is where we get to use Aseprite’s new tilemap feature. If we set up Aseprite to create a tile for each of our 4x4 segments we can use these segments to construct the full 8x8 tiles. Here’s how you set up the tiles:
With the auto mode selected Aseprite automatically creates a new tile object whenever it detects a unique tile. Now that we have our 4x4 building blocks we can create the actual 8x8 tiles. Below shows the creation of the first three tiles.
Since each 4x4 tile that we use still retains its index, when we want to edit the 8x8 tiles, all we need to do is edit the initial subset of 4x4 tiles. Maybe we want to widen them:
Or make them a bit more interesting:
Now they’re ready to be taken into a tilemap editor of your choice. I’m going to use Godot. You can tell Godot how the tiles fit together using the Tilemap’s bitmask property but other editors should have a similar feature. In Godot, the bitmask needs to be set up as follows:
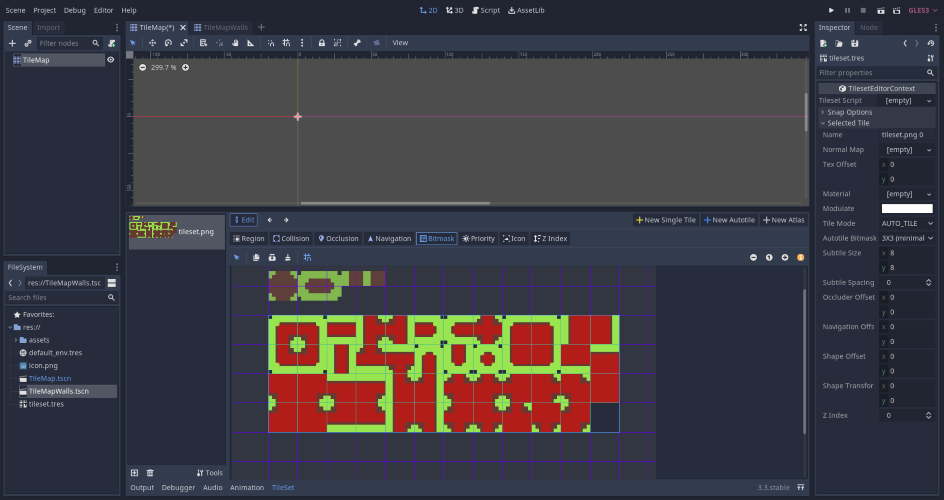
Now we’ve got a useable, auto-tileable tilemap that’s super easy to edit.

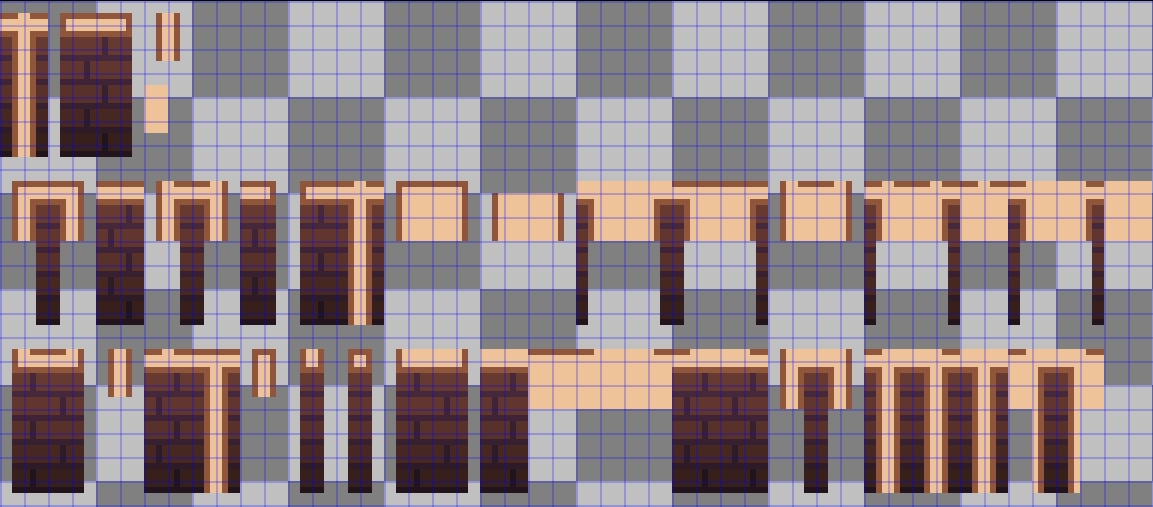
This method can also be extended to non-square tiles like walls.
Here’s a video demonstrating all the steps:
All the Aseprite/Godot files from this post can be found on Github